Choosing the right wedding signature fonts for your DIY invitation suite is one of the smallest decisions with a big impact. It’s not just about picking a pretty script it’s about setting the tone for your day, making your names feel personal, and giving your handmade design a polished finish. When you’re creating invitations yourself, every detail counts, especially the way your names appear.
What are wedding signature fonts for DIY invitation suite?
These are handwritten-style fonts designed to mimic real penmanship think elegant loops, subtle flourishes, and natural flow. They’re used specifically to display the couple’s names on wedding invitations, RSVP cards, and other suite elements. Unlike regular fonts, they feel more intimate and crafted by hand, which fits perfectly with DIY projects.
For example, a font like Graceful Script gives a soft, flowing look that feels warm and personal ideal for romantic or vintage-themed weddings.
When should you use wedding signature fonts in your DIY suite?
You’ll want to use them when you’re designing the main name block on your invitation usually at the top or center. This is where guests first see the couple’s names, so it’s the perfect place to add character. They work best when paired with clean, simple body text so the signature doesn’t get lost.
Use them for:
- Wedding invitations (especially the couple’s names)
- RSVP cards and reply envelopes
- Save-the-date cards
- Programs or table cards
Common mistakes when choosing wedding signature fonts
One frequent mistake is picking a font that’s too busy. Some scripts have too many curls or thin lines that don’t print well or become blurry when scaled down. Another issue is using a font that looks too casual like a child’s handwriting when you want something refined and formal.
Also, avoid mixing multiple signature fonts in one suite. Stick to one style unless you're intentionally going for a layered, eclectic look. Too many different styles can make the design feel disjointed.
How to pick the right wedding signature font for your style
Start by thinking about your wedding theme. A rustic outdoor wedding might suit a bolder, slightly uneven script like Thick Handwritten. A classic black-tie event calls for something smoother and more delicate, like a monoline script.
Test your font at full size before printing. Print a sample and hold it up close. Does it still look clear? Are the letters easy to read? If the strokes are too thin or the spacing too tight, it won’t translate well on paper.
Practical tips for using wedding signature fonts in your DIY project
Always pair your signature font with a matching or contrasting plain font for the rest of the text. For example, use a bold sans-serif like Montserrat for the date and location, and keep the names in a flowing script. This creates balance without overwhelming the eye.
If you’re using a cutting machine like a Cricut, choose fonts that are optimized for cutting. The thicker calligraphy lettering bundle includes fonts designed to cut cleanly, avoiding tiny details that could break during crafting.
For a softer, storybook feel great for whimsical or rustic weddings consider a monoline handwritten style. The monoline handwritten bundle has clean, consistent lines that stay readable even at small sizes.
If your DIY suite includes planners, thank-you notes, or guest books, the penmanship script bundle offers fonts that feel natural and legible perfect for journaling and writing notes by hand.
Next steps: Try before you print
Before committing to a font, download a free trial version and test it in your design software. Use a mock-up template to see how it looks with your chosen colors, paper type, and layout. Print a few samples on regular paper to check readability and visual impact.
Once you’ve picked a font, stick with it across all suite elements. Consistency makes your invitation suite feel intentional and cohesive. And remember your signature font isn’t just decoration. It’s part of your story, written in your own style. Download Now
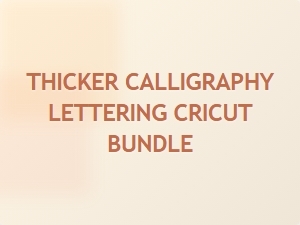 A Premium Collection of Thicker Calligraphy Lettering
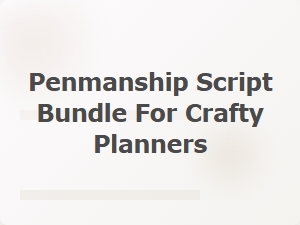 The Crafty Planner's Essential Penmanship Script Bundle
 Retro Neon Fonts for Party Decoration
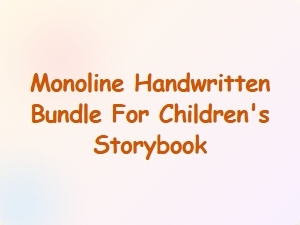 Monoline Handwritten Bundle for Children's Storybooks
 Strong Sans Serif Styles for Streetwear Branding
 Vintage Fonts for Classic Paper Craft Projects